
How to set an email signature in Outlook
Log into Outlook with your username and password.
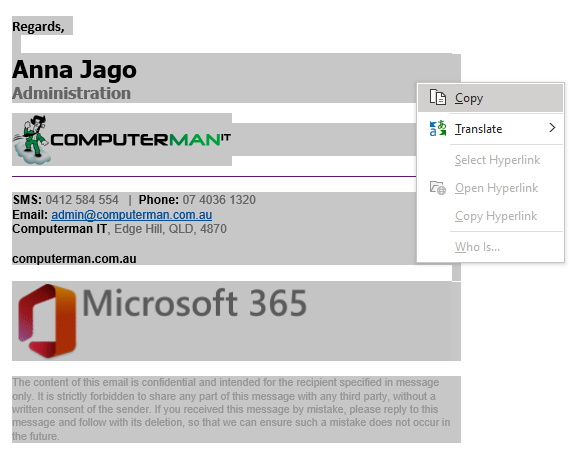
Go to a previously sent email with your signature.
Highlight the signature, right click your mouse and click "copy."
Create a new email by selecting the "Home" tab which is located at the top left of your screen.
Click on "New Email."

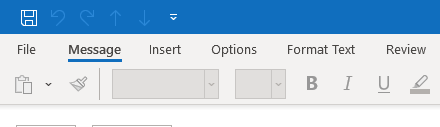
A new email will generate. Check that you are on the "Message" tab. If you are not, click on the "Message" tab.
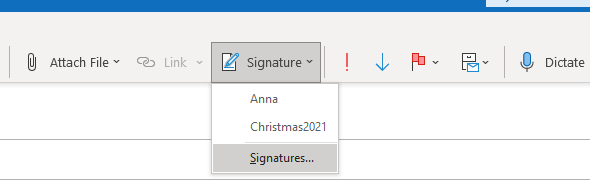
From the set of options from the top of your screen, click on the down arrow next to "Signature."
From the drop-down options, click on "Signatures..."
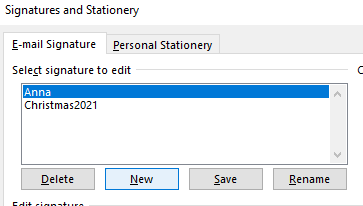
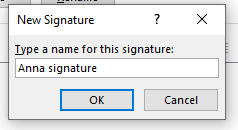
A Signatures and Stationery box will appear. Click on "New" from the "Select signature to edit" box.
Name your new signature.
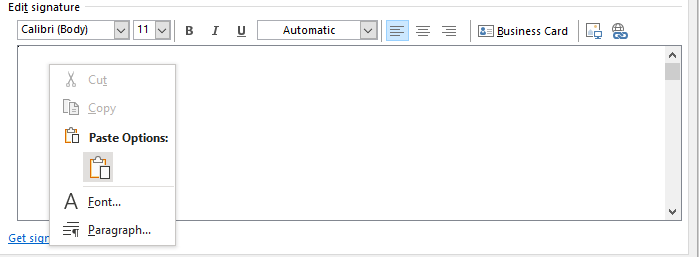
In the "Edit signature" box, right click your mouse and select "paste." Your signature should appear in the empty box below:
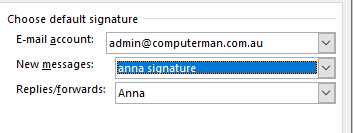
Once you have your signature finalised. Navigate to the options under "choose default signature."
Ensure your email is selected next to "E-mail account."
Click the dropdown arrow next to "New messages" and select the new signature you just created.
Do the same for "Replies/forwards."
Click "Ok."
Your new signature should appear and should always appear when you generate a new email .