
How to access SharePoint from the web
A short guide on accessing company data from the web interface rather than through File Explorer.
Accessing SharePoint
If you know the address of your company's SharePoint, you can put that directly into your browser's address bar. This will be unique to your company.

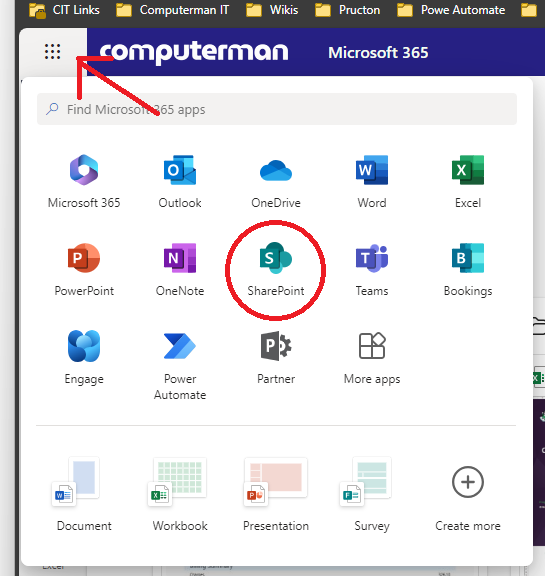
If you don't know it, the easiest way to access it would be by going to portal.office.com and signing in with your Microsoft 365 credentials. You'd usually use this to log in to your email or computer. Once you're logged in, click the nine dots in the top left-hand corner of the screen, then click on Sharepoint:
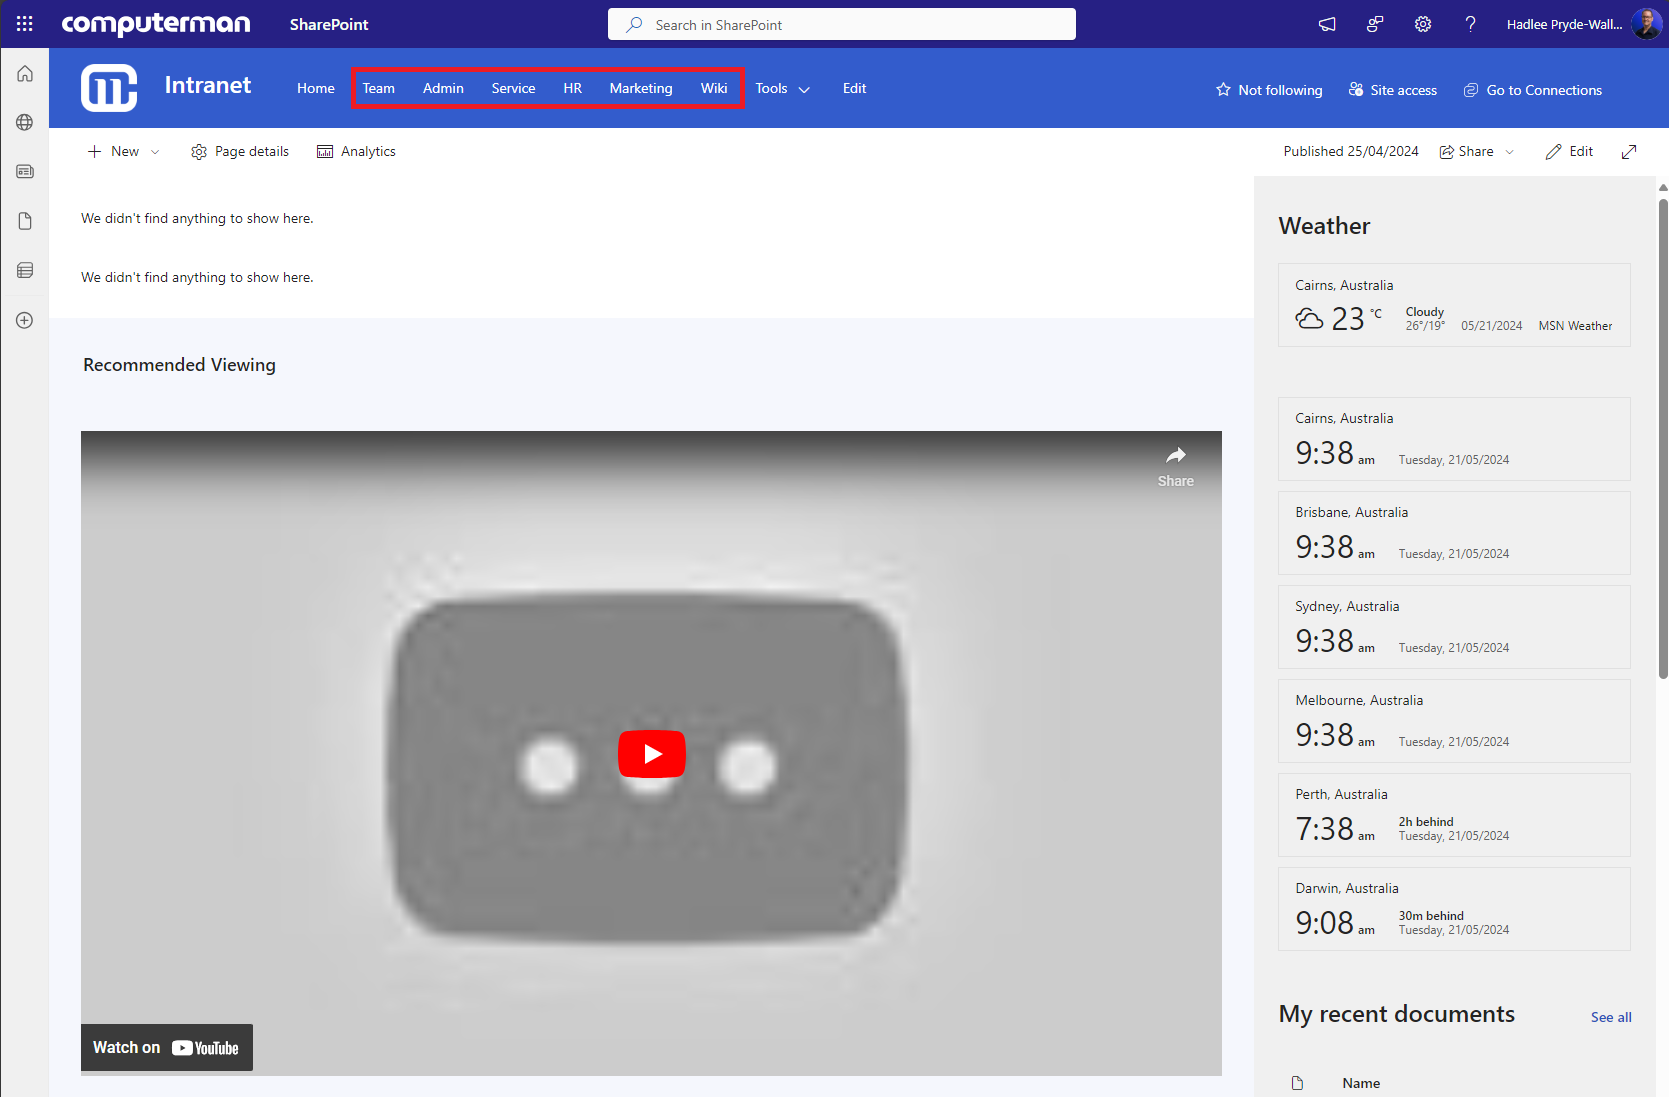
This will load the SharePoint site selection page. Select "Intranet" from the list of sites that appear. At this point, you may want to bookmark the page or set it as your homepage if you use it frequently. Along the top, you'll see a list of sites; if you're used to syncing files to your desktop, then these would generally correlate with folders that have been synced:
Once you click on one of those links, you'll be brought to a screen like the one below, where you can see various information, such as what you've recently accessed (no more forgetting where that file you accessed 5 minutes ago!). However, if you click on Documents on the left side, you'll be taken to a list of all the documents saved in that library.
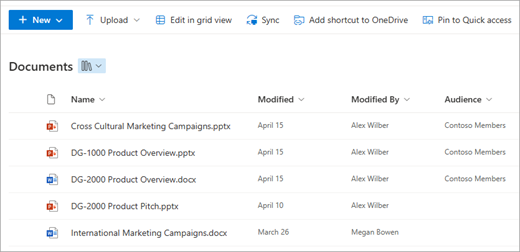
You can just open any file here; the document libraries are set to open files in their external applications by default.
Important: Once a file is opened, it will auto-save any changes made. If you need to create another document from the original, please use "Save as" to create a new copy before making changes.
Uploading files
1) Open the SharePoint site library.

2) Open File Explorer.

4) Drag and drop the files to the SharePoint library. When you hover the file over the library, the library will visually change indicating the ability to upload (refer below for an example)
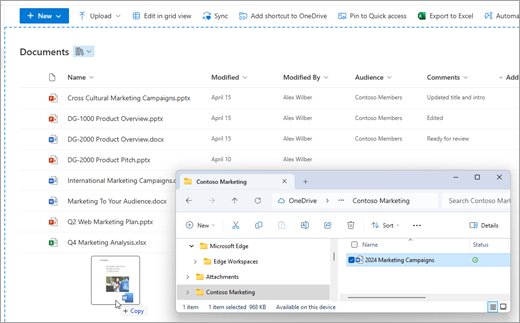
5) You should see your files appear in the Document Library.
Copying and moving files
1) Select the items you want to copy, then select Copy to. Or, for the item, select More 
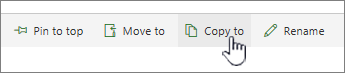
2) Under Choose a destination, select the location where you want a copy of the files or folders.
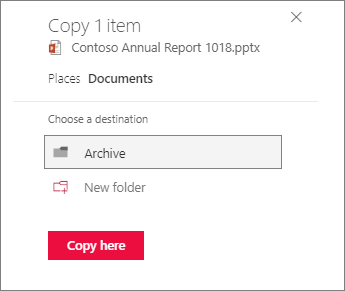
To create a new folder to copy the files to, select New folder and put the folder name in the text box.
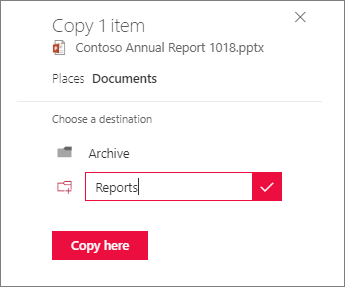
3) Click on Copy Here.
Moving files is the same process, however you click on Move instead of Copy.
Email attachments
Unfortunately, there are a couple of extra steps if you need to save an email attachment to SharePoint. Since we can't save directly to SharePoint from Outlook, we need to temporarily save attachments to the PC as an intermediate step.
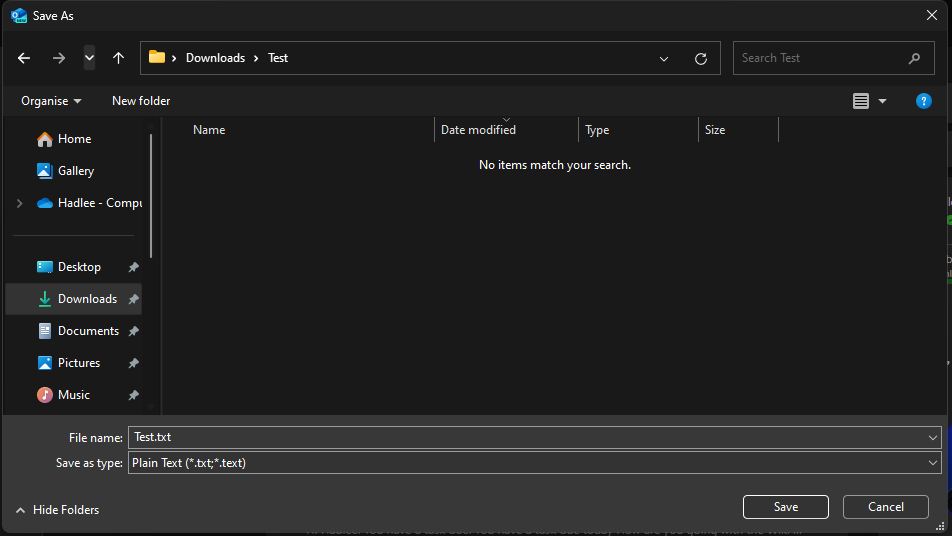
1) Save the attachment somewhere on your PC. Usually this will be the downloads or documents folder.
If you're using the classic Outlook client, that will look like this:

The new Outlook client will look like this. Note the difference in terminology: Download instead of Save As:
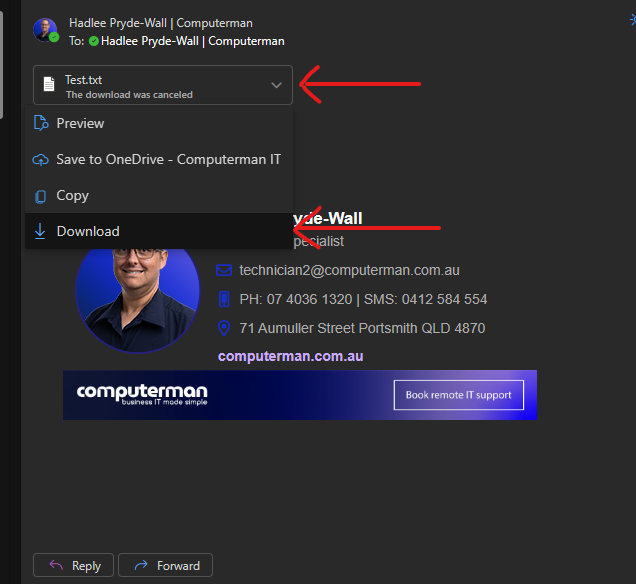
In this case, I've saved it to Downloads:
2) Now, you can upload the file to Sharepoint like any other, as demonstrated in the "Uploading Files" section.