
How to activate LastPass Account
Overview
This guide details the steps to create and activate your LastPass account from an invitation email. It is designed for new users receiving a company-issued LastPass invite
Difficulty
Very Easy
Estimated Time

Process

Detail
Step 1:Receive the Invitation Email
Check your email for a message from LastPass (sender: do-not-reply-support@lastpass.com) with a subject similar to “LastPass account created”
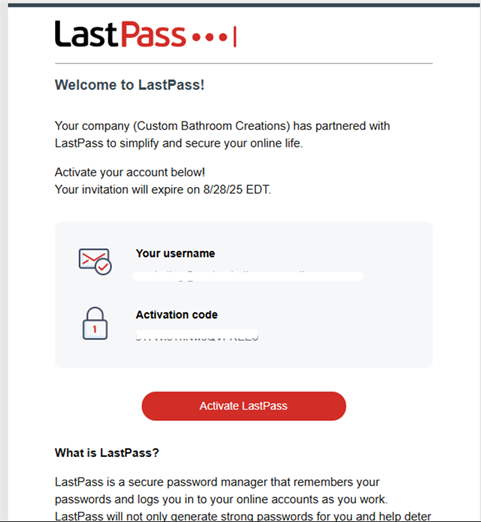
If not found, check your Spam, Promotions, or Clutter folders
A verification email will be sent to ensure that it's the user logging in when they change locations.
Step 2:Click the Activation Link
Inside the invitation email, click the “Activate Lastpass” which will take you to the LastPass account setup portal.

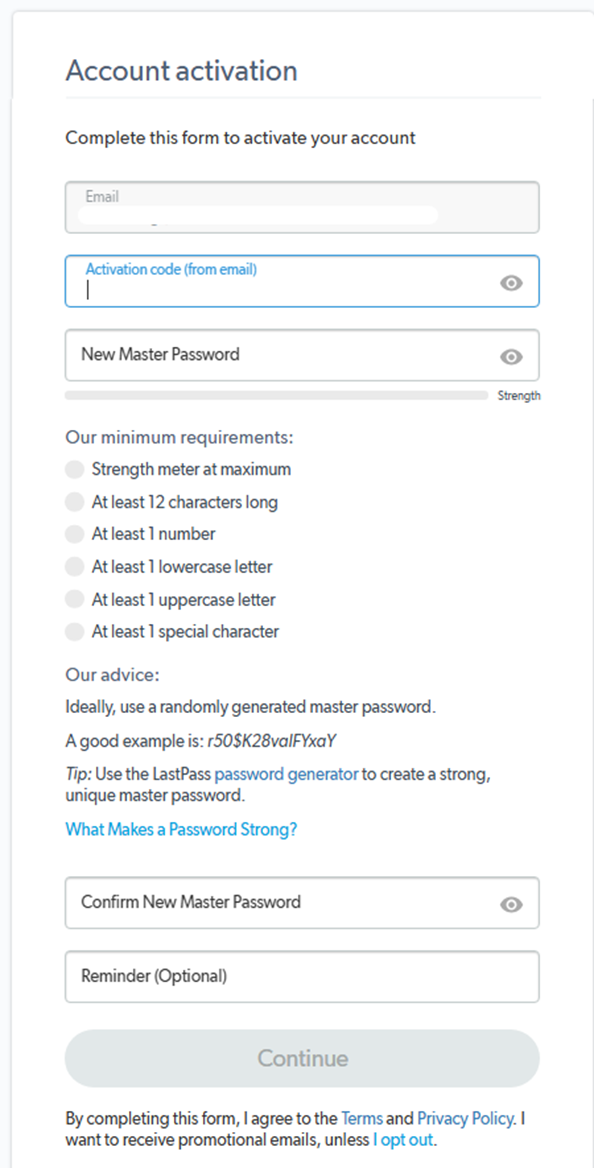
Step 3:Account Activation Code and Master Password
Copy the activation code from the first email you received and paste it into the “Activation code” box. Then, create a strong and memorable password to access your LastPass Vault.
Note: If you are a managed client, we have set up your LastPass account to sync with your Microsoft Account. It should detect the master password automatically.
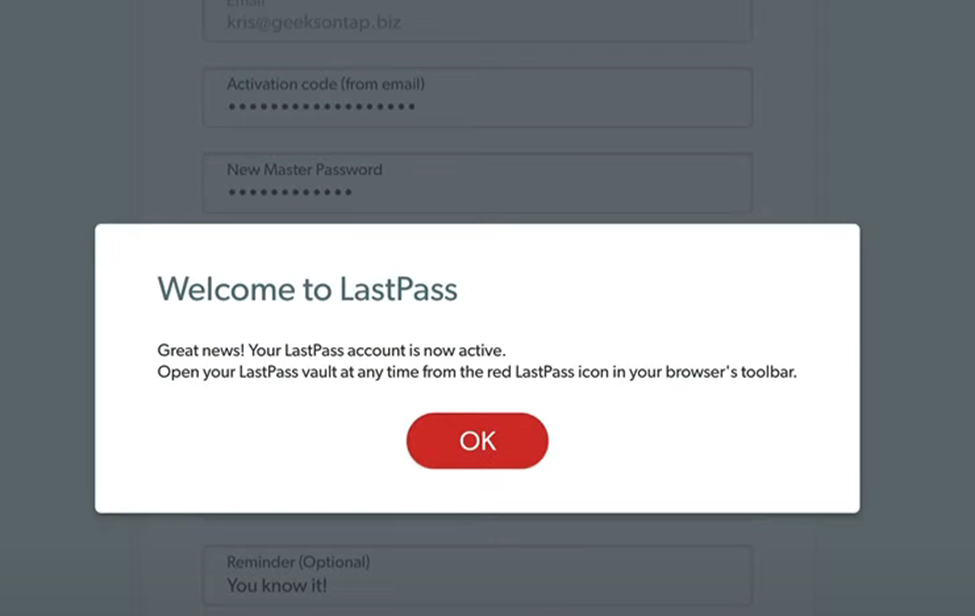
After entering the details, click 'Continue” and wait for the process to finish. If all is well, you'll get this notification.
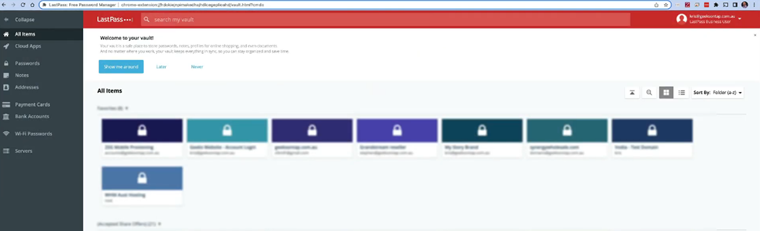
Step 4:Access the Vault
You’ll be redirected to your LastPass Vault, your central dashboard for storing:
• Website logins
• Secure notes
• Payment cards
• Addresses
Step 5: Browser Extension
You can see the Lastpass browser extension is installed in Edge and Chrome, shown as follows:
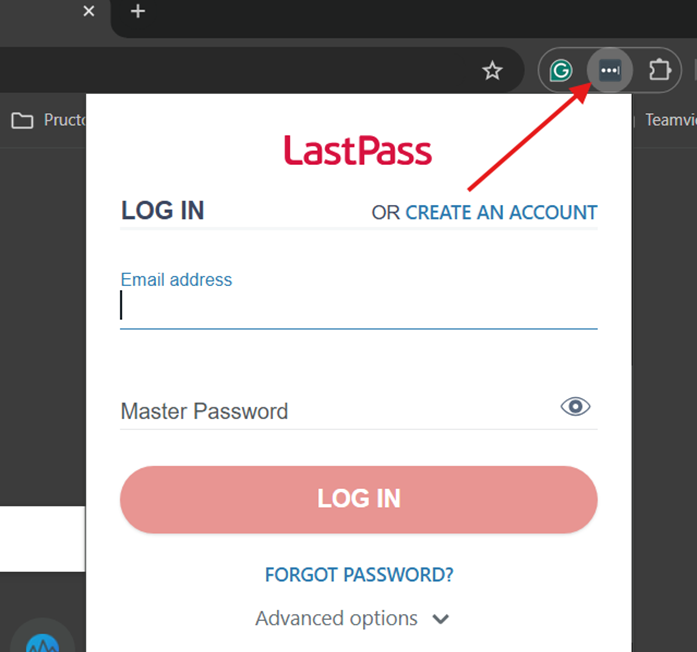
You can log into the browser by entering your e-mail and created password.
You can always access your LastPass by signing in with your M365 email address, and you do not have to enter your password every time you log in.
If the system detects that you have moved location, you will be prompted to verify the login. If notified, check your email address to verify your login before trying to sign in again.